

Before you start
You need:- Admin access to a LINE Official Account.
- Access to its matching Messaging API channel in the LINE Developers Console.
- A Channel Secret from the account’s Basic settings.
- A Channel Access Token from the Messaging API tab.
Find the credentials
1
Open the LINE Official Account
Sign in to LINE Official Account Manager and open the account you want to connect.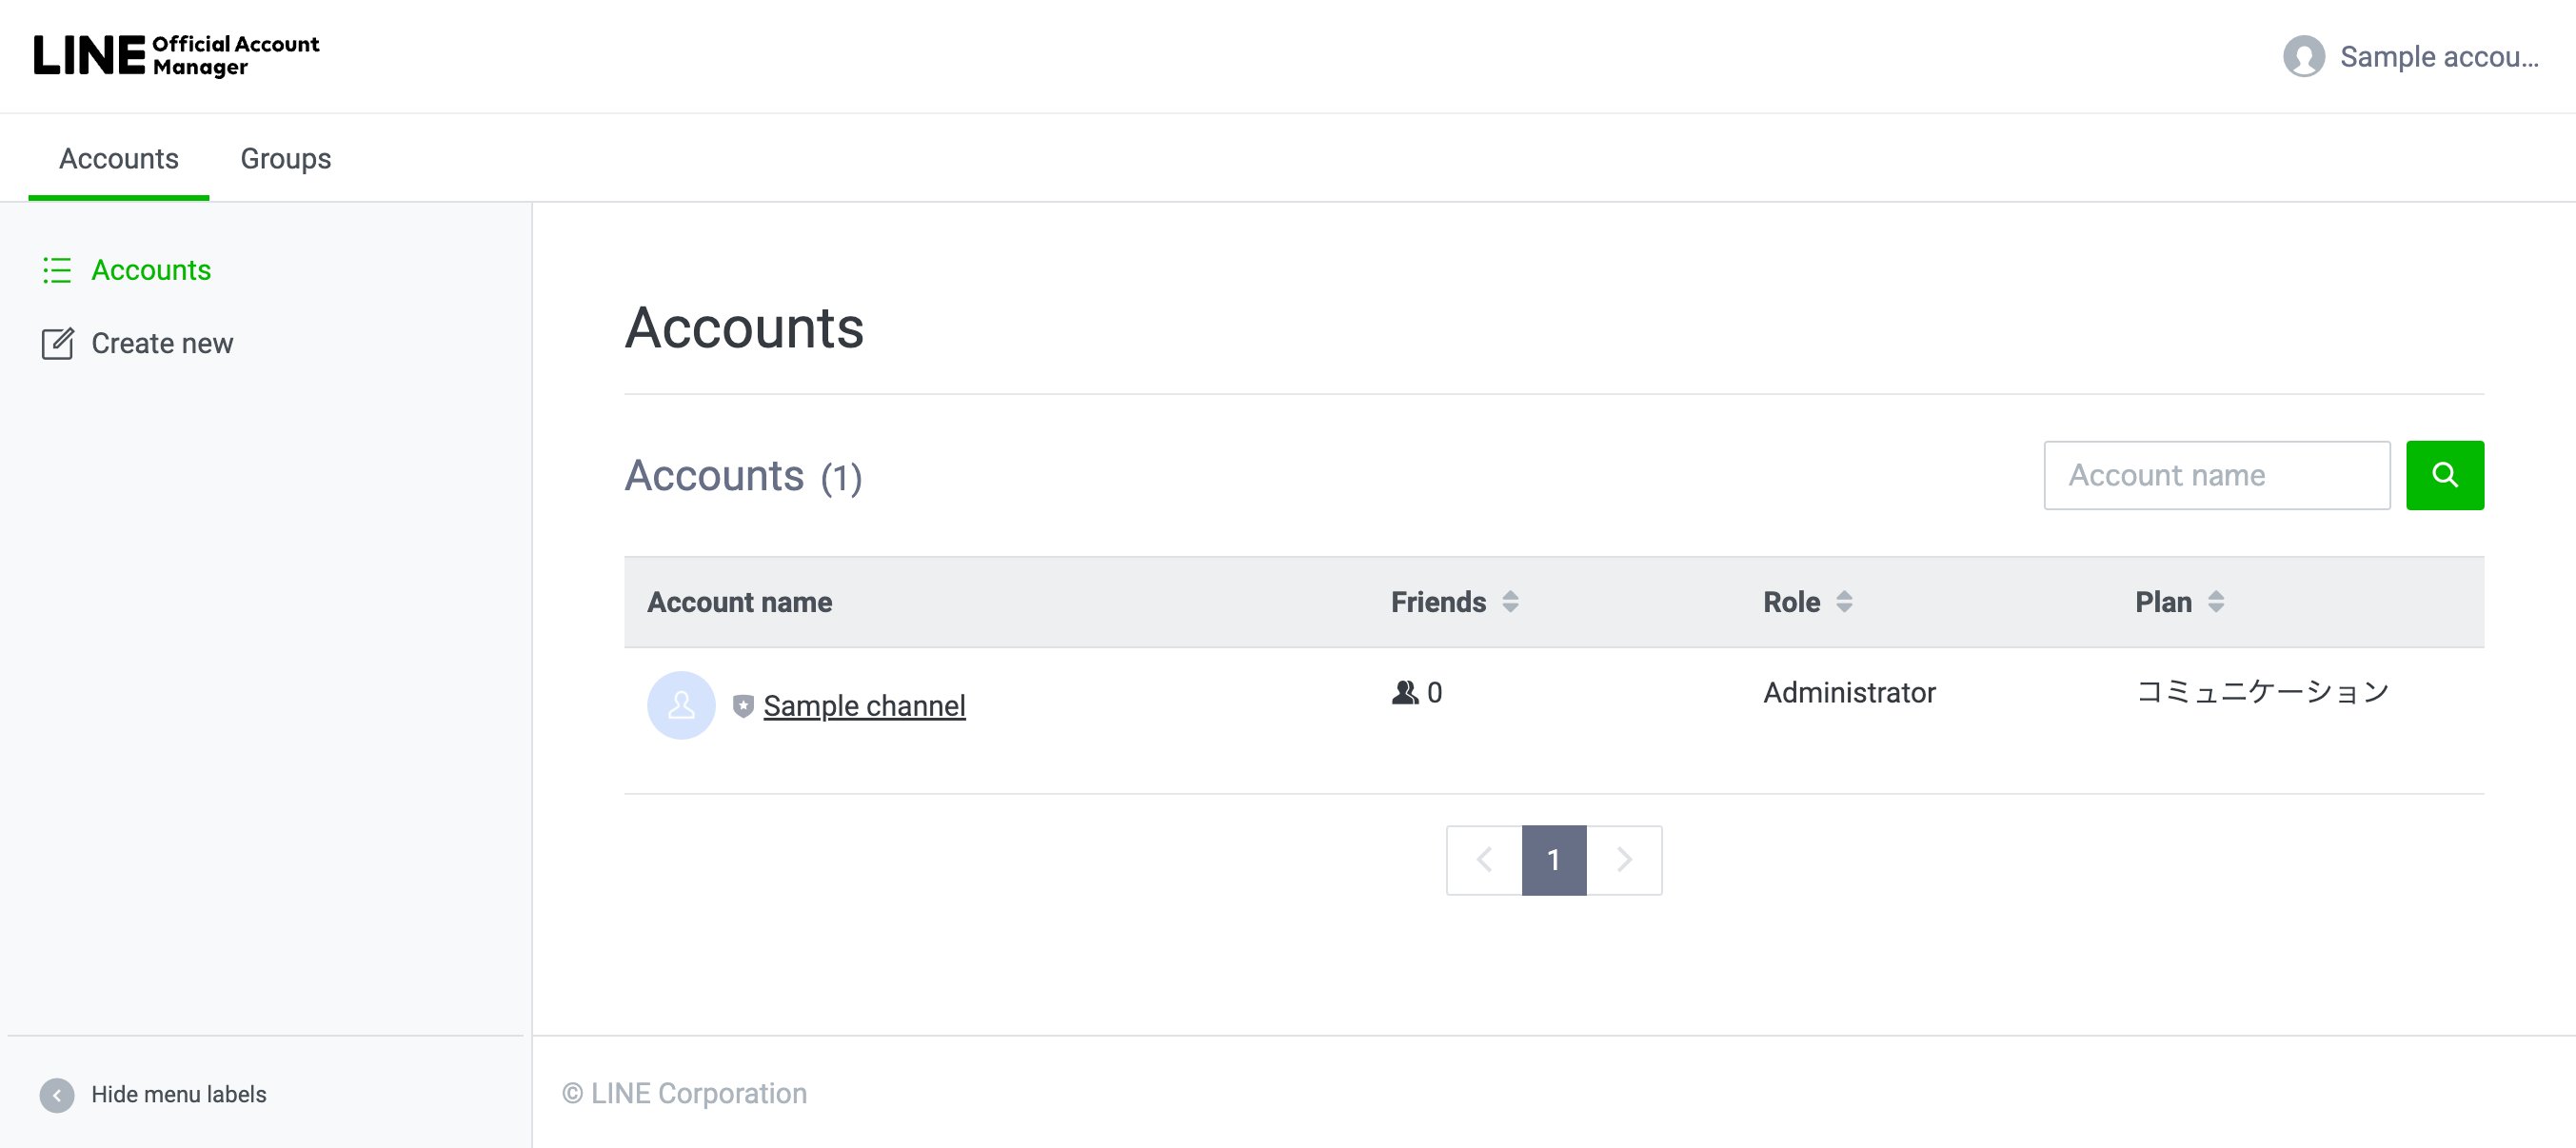
2
Copy the Channel Secret
Open Settings > Messaging API. Copy the Channel Secret, or open the matching channel in the LINE Developers Console and copy it from Basic settings.
3
Issue a Channel Access Token
Open the matching channel in the LINE Developers Console, choose Messaging API, and issue or copy a Channel Access Token.The token is not shown in LINE Official Account Manager. If necessary, match the numeric Channel ID in both products to make sure you opened the same account.
Create the Kylon connection
You can start setup from either place:- Click the LINE setup action an agent sent in chat.
- Open the agent’s Connections page and choose LINE Official Account.
When you submit the form, Kylon automatically:
- Checks the Channel Access Token and reads the Official Account name.
- Creates one pending connection.
- Sets the Kylon webhook URL in LINE.
- Tests the webhook endpoint.
- Checks whether LINE reports webhook delivery as active.
If you close an unfinished chat setup, click the original agent action again to continue the same connection. Kylon does not create a duplicate. You can also repair a pending connection from its Webhook menu.
Turn on Webhooks in LINE
LINE’s public Messaging API can set and test a webhook URL, but it cannot turn on the account’s Webhooks switch. If Kylon asks you to enable webhooks, use either path below.LINE Official Account Manager
- Open the Official Account.
- Go to Settings > Response settings.
- Turn on Webhooks.
- Return to Kylon and click Check again.
LINE Developers Console
- Open the matching Messaging API channel.
- Open the Messaging API tab.
- Turn on Use webhook.
- Return to Kylon and click Check again.
Manual URL setup
Kylon displays a copyable webhook URL only when LINE rejects or cannot complete the automatic URL update. If Kylon shows Set the webhook URL in LINE:1
Copy the URL from Kylon
Copy the URL shown in the setup dialog. The URL contains a private capability token; do not share it.
2
Paste it in LINE
In the LINE Developers Console, open the channel’s Messaging API tab. Edit Webhook URL, paste the exact Kylon URL, and save it.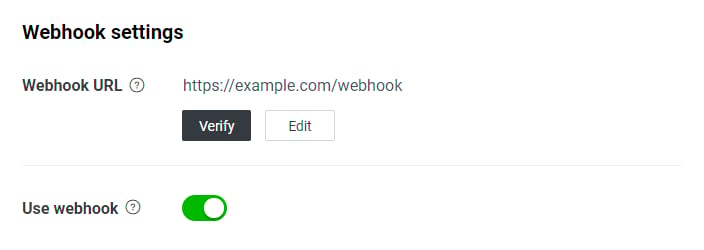
3
Enable delivery and check again
Turn on Use webhook, return to Kylon, and click Check again. You do not need to create another connection.
Recommended response settings
If Kylon should handle incoming messages:- Turn off LINE’s automatic replies so they do not compete with the agent.
- Keep Webhooks enabled.
- To receive group or room messages, enable Allow bot to join group chats in the LINE Developers Console before inviting the Official Account.
Message coverage
After the connection is active, Kylon can receive new inbound messages from:- One-to-one chats with the Official Account.
- Groups that the Official Account has joined.
- Multi-person chats (rooms) that the Official Account has joined.
Verify or repair an existing connection
Open the connection’s menu and choose Webhook. The dialog shows the current status and the latest webhook activity.- Click the refresh icon to verify the existing URL, test the endpoint, and recheck the Webhooks switch. Verification does not change LINE’s URL.
- Choose Reconfigure webhook to replace invalid credentials or let Kylon restore a mismatched URL.
- If the dialog reports a problem, follow its direct recommendation or open this setup guide.